A more complex example is the macro
\maketitle which is used in almost every
LATEX document to format the title block. In the default
document classes (book, report, and article) it performs small
variations on the layout of a centred block with the title
followed by the author followed by the date, as we saw in
§ 2.3 above.
If you inspect one of the default document class files, such as
report.cls, you will
see \maketitle defined (and several variants
called \@maketitle for use in different
circumstances). It uses the values for the title, author, and
date which are assumed already to have been stored in the
internal macros \@title,
\@author, and \@date by
the author using the matching \title,
\author, and \date
commands in the document before using the
\maketitle command.
This use of one command (eg \title) to
store the information in another (eg
\@title) is a common way of gathering the
information from the user.
\documentclass{report}
\usepackage{fontspec,xcolor}
\setsansfont{TeX Gyre Adventor}
\makeatletter
\renewcommand{\maketitle}{%
   \begin{flushleft}%
      \sffamily
      {\Large\bfseries\color{red}\@title\par}%
      \medskip
      {\large\color{blue}\@author\par}%
      \medskip
      {\itshape\color{green}\@date\par}%
      \bigskip\hrule\vspace*{2pc}%
   \end{flushleft}%
}
\makeatother
\begin{document}
\title{Practical Typesetting}
\author{Peter Flynn\\Silmaril Consultants}
\date{June 2024}
\maketitle
\end{document}
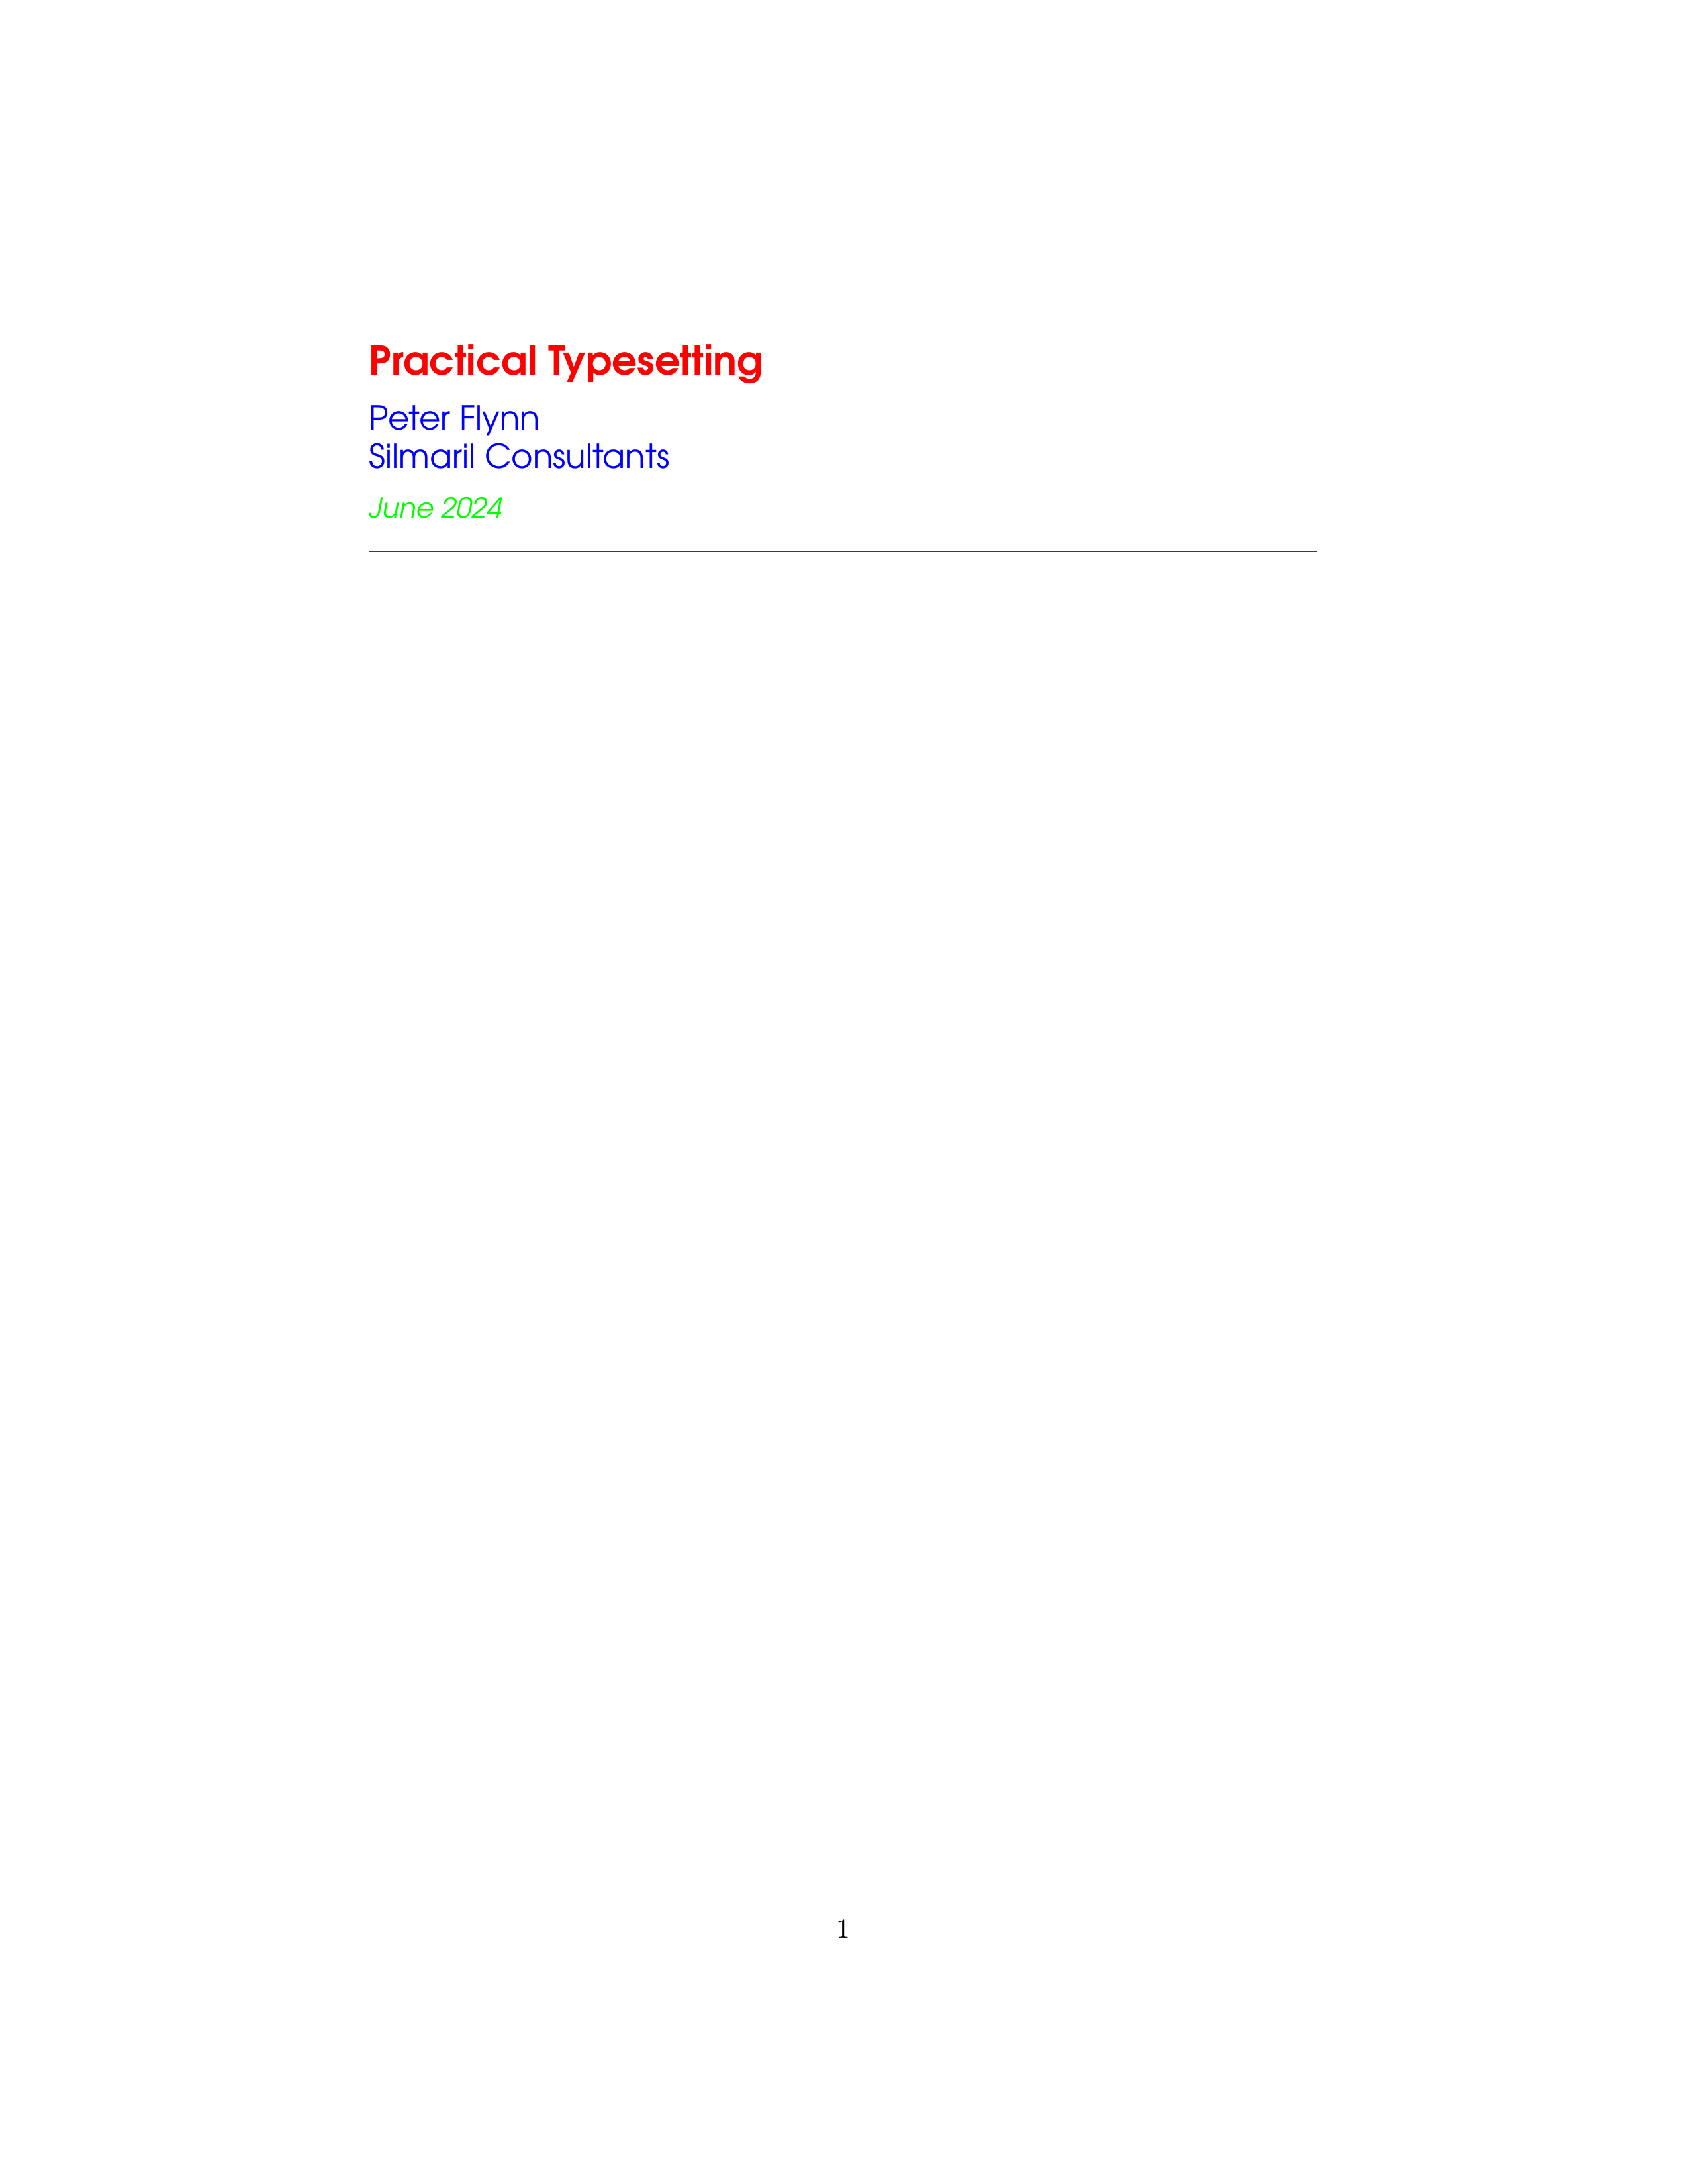
Insert this immediately before the
\begin{document} in the sample file in the
first listing, and make sure you have used the
xcolor package. Typeset the file and you
should get something like Figure 7.1 below.
Figure 7.1: Example of reprogrammed title layout
In this redefinition of \maketitle,
we’ve done the following:
Enclosed the changes in
\makeatletter and
\makeatother to allow us to use the
@ sign in command names;
Used \renewcommand and put
\maketitle in the first pair of curly braces after
it;
Opened a second pair of curly braces to hold the new
definition. The closing curly brace of this pair is
immediately before the
\makeatother;
Inserted a flushleft environment
so the whole title block is left-aligned;
Used \sffamily so the whole title
block is in the defined sans-serif typeface;
For each of \@title,
\@author, and \@date,
we have used some font variation and colour, and enclosed
each one in curly braces to restrict the changes just to
each command. The closing \par of each
one makes sure that multiline title and authors and dates
would get typeset with the relevant line-spacing;
Added some flexible space between the lines, and
around the \hrule (horizontal rule) at
the end;
Note the % signs after any line ending
in a curly brace, to make sure no intrusive white-space find
its way into the output. These aren’t needed after simple
commands where there is no curly brace because excess
white-space gets gobbled up there anyway.
Exercise 7.1 — Rewriting the title
Add the code above to your test document (or create a
new one), then add title, author, and date, and make your
new title.

